- English
- Español
- Português
- русский
- Français
- 日本語
- Deutsch
- tiếng Việt
- Italiano
- Nederlands
- ภาษาไทย
- Polski
- 한국어
- Svenska
- magyar
- Malay
- বাংলা ভাষার
- Dansk
- Suomi
- हिन्दी
- Pilipino
- Türkçe
- Gaeilge
- العربية
- Indonesia
- Norsk
- تمل
- český
- ελληνικά
- український
- Javanese
- فارسی
- தமிழ்
- తెలుగు
- नेपाली
- Burmese
- български
- ລາວ
- Latine
- Қазақша
- Euskal
- Azərbaycan
- Slovenský jazyk
- Македонски
- Lietuvos
- Eesti Keel
- Română
- Slovenski
- मराठी
- Srpski језик
How to Make Sublimation Tumblers in 3 Ways with Seamless Results!
2023-09-19
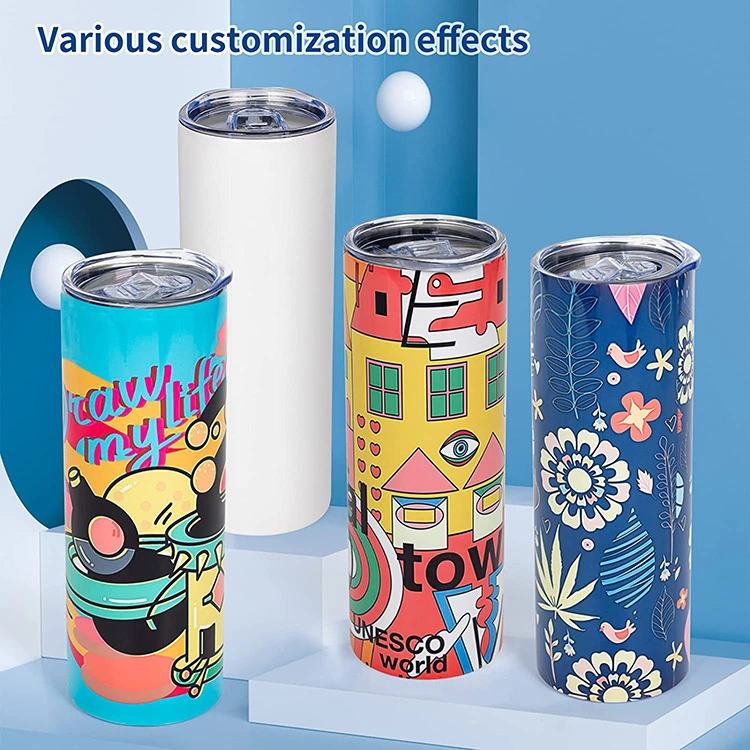
One of my favorite parts of sublimation is how easy it makes customizing 3D items, especially skinny tumblers! They’re fun and popular, and make amazing gifts. While sublimation tumblers take a bit of practice to perfect, especially creating a smooth seam for continuous designs, I’ve done all the experimenting for you and have lots of tips to get great results! And, I tested several tool and material combinations to help you pick the best option for your tumblers. I will also show you how to use my high quality, free sublimation tumbler designs fast and easy!
Print sublimation on tumblers is so much fun! It does take some special equipment, but the results are very reliable.
Basically, special sublimation dyes and papers are activated with heat. The inks become a vapor and dyes the surface of the specially-coated skinny tumbler in just a few seconds. And since the printed sublimation designs become part of the tumbler’s surface fibers, you can’t feel them and they won’t peel off! You need compatible sublimation tumblers, which have a special sublimation or poly coating that accepts the ink. My favorite skinny sublimation tumblers are in the material list.
Since tumblers aren’t flat (they couldn’t hold coffee if they were!) you’ll need different heat presses and supplies than those for flat sublimation items. I tested combinations of new products using a tumbler press, a convection oven, a heat gun, shrink wrap tubes, silicone bands, and a heat-resistant felt pad. I’m excited to share the results of my skinny straight sublimation tumbler experiments!
No matter which technique you use, take your time aligning and securing the design to your sublimation tumbler. I’ll show you some tips on getting a clean seam using butcher paper, a lint roller, heat resistant tape, a scraper, and scissors or a paper trimmer. It even works for a full wrap design!


